
Writing code isn’t only for the present, it’s an ongoing process. When we code we will need to edit it in the future or collaborate with another coder. That’s where comments come into the picture. It even helps you when you check your work at a later date. Comments are not read by the browser, it solely serves the coding community.
“Clarification comments are intended for anyone (including your future self) who may need to maintain, refactor, or extend your code.”, says FreeCodeCamp.
Yet it is best advised to keep comments to a minimum. So, the question remains “how to comment”? Alright, let’s see how to do it.
Whenever we want a note not to be displayed in the output add ‘<!–‘ & ‘–>’ in front and end respectively. It’s that simple. Check the code below. You can also try it yourself at Codepen.
<html>
  <div>
    <!-- This is to learn how to comment in HTML and this won't be displayed
         in the output -->
    <p style="text-align:center;">  I am meant to be displayed  and in
       center </p>
  </div>
</html>
Here’s the output of the above code:

Click here to learn about center text & center image in HTML.
The comment tag does not support any event or standard attribute. Unlike other tags, the comment tag itself is used to start & end the tag.
There was a <comment> tag which was used in earlier versions but modern browsers do not recognize it. Observe the code below and check its output. See if you can find an error in the code.
<html>
  <div>
    < !-- This is to learn how to comment in HTML and this won't be
          displayed in the output -- >
    <p style="text-align:center;"> Only I was meant to be displayed </p>
  </div>
</html>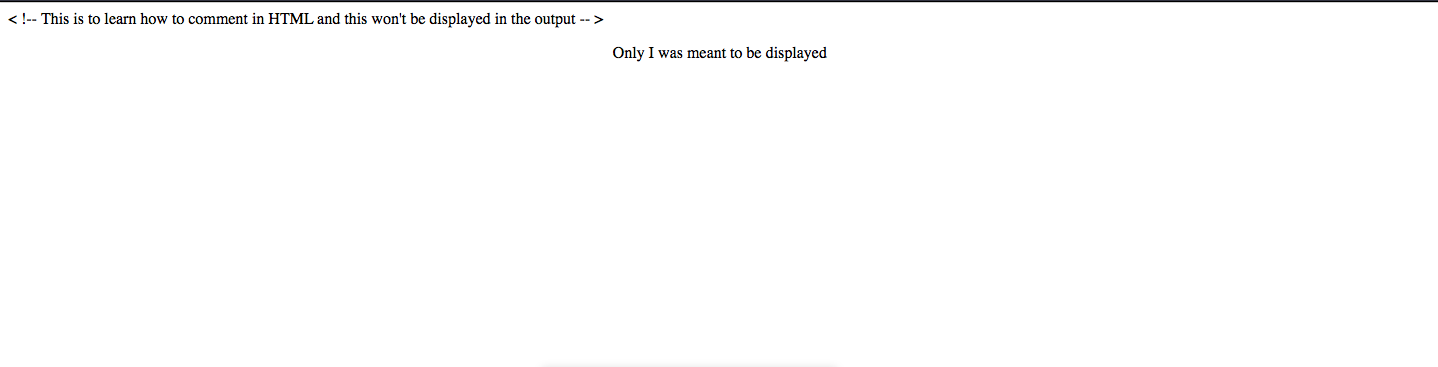
I’m sure you would have figured out the error. Yes, it is the space after the opening angular bracket ‘<’. Be mindful of not clicking the extra spacebar there.
How To Comment Multiple Lines In HTML
We have seen how to comment in HTML, and now we just need to build on it. Leave a line after the starting of the comment tag ‘<!–‘ and a line before the end tag ‘–>’.
<html>
  <body>
    <!--
       Let’s learn how to comment in HTML.
       Infact How to comment multiple lines in HTML
       This won't be displayed in the output
     -->
    <p style="text-align:right;"> Even multiple lines will not be displayed
    </p>
  </body>
</html>
Now, we can learn how to use these multiple lines comment tags for hiding the code. This can be used when we don’t want the code to get displayed for testing purposes. We can nest multiple tags inside the comment tags. This feature of multiple lines tag helps us keep the redundant or outlived code in the source code without displaying its output.
<html>
  <body>
       <!--
	  <p> We can learn more about HTML here(inserthtml.com)</p>
	  <img src=”html.png” alt=”How to comment in HTML”>
	  Even a write up without a nesting tag won’t be displayed
       -->
       <p> Everything from here is not inside the comment tag and it will be
           displayed
       </p>
  </body>
</html>
You can also try out this code on your own at Codepen.
How To Hide Script From Browsers
Sometimes for unsupported browsers, we need to hide the script. For example, while programming in JavaScript, we can use the comment function to hide the script on browsers that don’t support it.
<html>
   <head>
      <title>How to hide from unsupported browsers</title>
   </head>
   <body>
      <script language="javascript" type="text/javascript">
      <!--
         document.write("Comment in HTML")
      //-->
      </script>
   </body>
</html>
As we can see in the code above, insert the comment at the start of the script, and end it with //–> to ensure that the script works on browsers that do support it.
Conclusion
In this tutorial, we learned how to add comments in HTML, how to add multiple lines of comment, and how to hide script that is not supported by the browser. You can learn more such techniques on our blog here!

