Javascript allows us to do a bunch of things that only a few years ago would have been unthinkable. Today we’re going to look at how we can access accelerometer data on mobile devices in Javascript to create a pretty cool 3D effect like the one seen on the new iOS7 operating system.

Accelerometer Access
Javascript is beginning to give us new ways to access different types of input, and one of those is the accelerometer found on most mobile phones. The accelerometer detects phone movement and tells the phone how tilted the phone is (well, assuming there is gravity).
Accessing that information is a piece of cake! There is a javascript event listener and an object we can access to get all that stuff. First off we initiate the event listener:
window.ondevicemotion = function(event) {
And get the information using the accelerationIncludingGravity object. This gives us an x, y and z dimension to how the user is holding their device:
var x = event.accelerationIncludingGravity.x;
var y = event.accelerationIncludingGravity.y;
var z = event.accelerationIncludingGravity.z;
Each variable returns a value between -10 and 10. For example, a value of -10 would mean turning the phone completely to the left, and 10 would be turning it completely to the right. Using this information we can create some pretty neat things.
Using it
So first off, I’m using jQuery for these examples. In Example 1 we have something similar to iOS7, where the background and icons move based on the phones position creating a 3D effect. We would first take the values for the x and y accelerometer positions and alter them a little bit, so we can get values we can actually use.
window.ondevicemotion = function(event) {

    accX = Math.round(event.accelerationIncludingGravity.x*10) / 10;
    accY = Math.round(event.accelerationIncludingGravity.y*10) / 10;

    movement = 10;

    xA = -(accX / 10) * movement;
    yA = -(accY / 10) * movement;
Then we want to change the box shadow a little bit, and move stuff around. So using that information we alter the CSS using a little jQuery.
    $('.box').css({'left' : xA+'px', 'top' : yA+'px',
    'box-shadow' : ''+xA+'px '+yA+'px 10px rgba(0,0,0,0.3)'});

    bX = -(xA*2)-100;
    bY = -(yA*2)-300;

    $('#container').css({'background-position' : bX+'px '+bY+'px'});

}
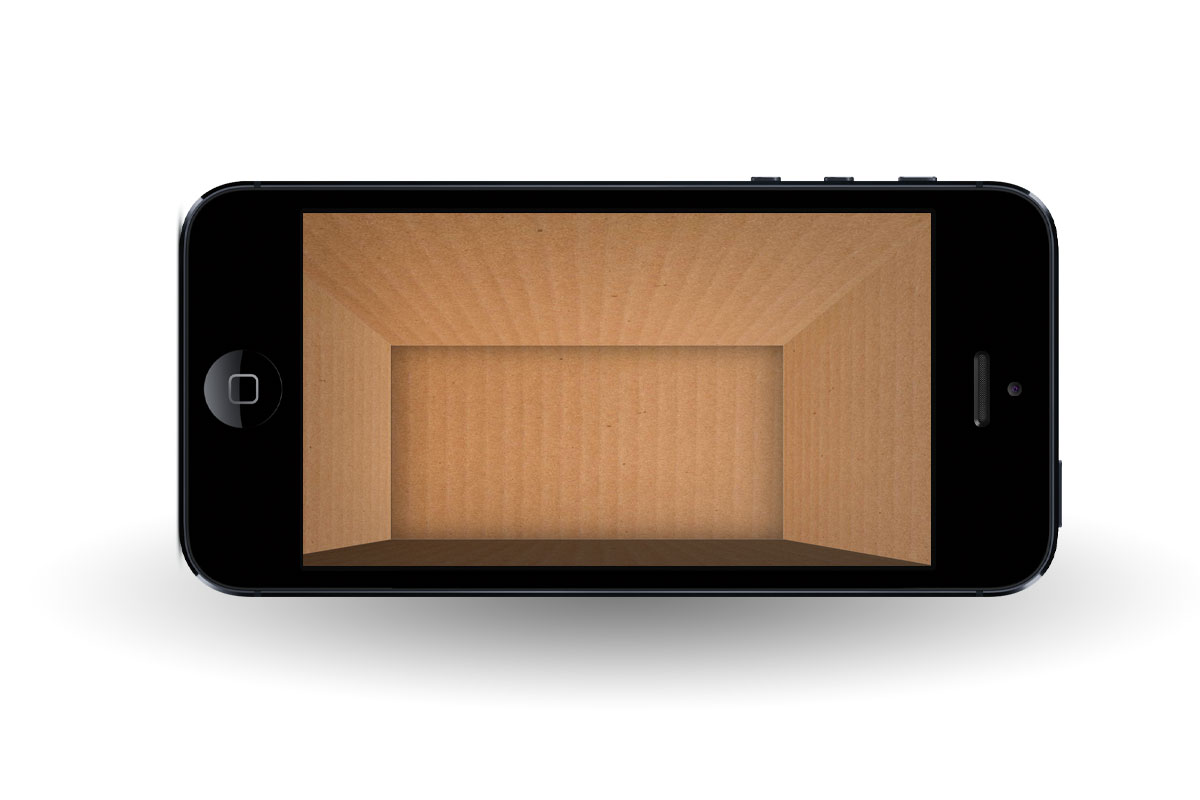
Now we have a pretty cool effect, but we can even go further! In Example 2 I used some 3D transforms to make a 3D box with a long perspective, and then just used the accelerometer information to change the transform origin, giving the effect that the user is looking around inside the box.
I also added a few shadows so the sides got darker as the user tilted towards them, as would happen in real life. So again (similarly), we call the event handler and get the accelerometer data:
window.ondevicemotion = function(event) {

    accX = Math.round(event.accelerationIncludingGravity.x*10) / 10;
    accY = Math.round(event.accelerationIncludingGravity.y*10) / 10;
Then we alter that data to our needs and change the CSS based on this altered information:
    movement = 20;

    xA = (width/2) - (accX*movement);
    yA = (height/2) - (accY*movement);

    bAR = Math.abs((xA-width/2) / (movement*20));
    bAL = Math.abs((xA-width/2) / (movement*20));
    bAT = Math.abs((yA-height/2) / (movement*20));
    bAB = Math.abs((yA-height/2) / (movement*20));

    if(xA > (width/2)) { bAL = 0; } else if(xA < (width/2)) { bAR = 0; }
    if(yA < (height/2)) { bAB = 0; } else if(yA > (height/2)) { bAT = 0; }

    $('.right-edge').css({'box-shadow' : 'inset 0 0 500px 500px rgba(0,0,0,'+bAR+')'});
    $('.left-edge').css({'box-shadow' : 'inset 0 0 500px 500px rgba(0,0,0,'+bAL+')'});
    $('.top-edge').css({'box-shadow' : 'inset 0 0 500px 500px rgba(0,0,0,'+bAT+')'});
    $('.bottom-edge').css({'box-shadow' : 'inset 0 0 500px 500px rgba(0,0,0,'+bAB+')'});

    $('#container').css({'transform-origin' : xA+'px '+yA+'px'});

}
And voila, we have a 3D box. In the downloadable code I’ve altered these demos a little bit so they’ll work on desktop as well via mouse movement (since desktops tend to not have accelerometers, as most people do not pick up their monitor).
Accelerometer data is supported by most mobiles, so support isn’t really a worry. If it were, there are always backup plans, and most of the time these effects are not really necessary to complete the user interface, so no worries!


